Small but really strong !
Raspbian is the official operating system for all Raspberry PI models. It’s a Debian-based linux OS declined in 3 images: 2 supporting desktop and the last one being a minimal image we will use.
After the first boot, some setting are necessary. We will handle the mantarory ones.
Finally, we will prepare the Raspberry to run Javascript/Typescript code on Node.js, with all required libraries. Optionaly, we will prepare a development environment for whose who aim to perform some updates or bugs fixing. Please note that Raspberry PI ZERO W is definitly not the right model to consider development as typescript compiling. I rather recommand to use a Rasperry PI B+ which is quite faster and more suitable.
Prerequisiter are as follow:
- Raspberry PI Zero W (or B/B+ for development)
- Micro SD card, 4GB minimum for Raspbian Buster Lite image
- WiFi connection
1st step: Prepare and install image
1) Download Raspbian Buster Lite image from: https://www.raspberrypi.org/downloads
2) Flash image using Balena Etcher: https://www.balena.io/etcher/
3) Finalize image preparation with WiFi and SSH support on first boot. Create 2 files on the boot partition:
- an empty ssh.txt to enable SSH after booting
- a wpa-supplicant.conf with following content (replace <SSID-NAME> and <KEY> with your WiFi values):
country=fr
update_config=1
ctrl_interface=/var/run/wpa_supplicant

network={
 ssid="<SSID-NAME>"
 psk="<KEY>"
}
2nd step: Configure the image
1) Boot your Raspberry device with the new image SSD card.
Before going any further, you need to know the IP address of your Rasberry. You can connect to your DHCP server and try to find-out. If you face any issues, take a look here.
Now, connect with ssh and login as: pi and default password: raspberry.
2) Launch raspi-config utility
pi@raspberrypi: ~$ sudo raspi-config
A. Change User Password
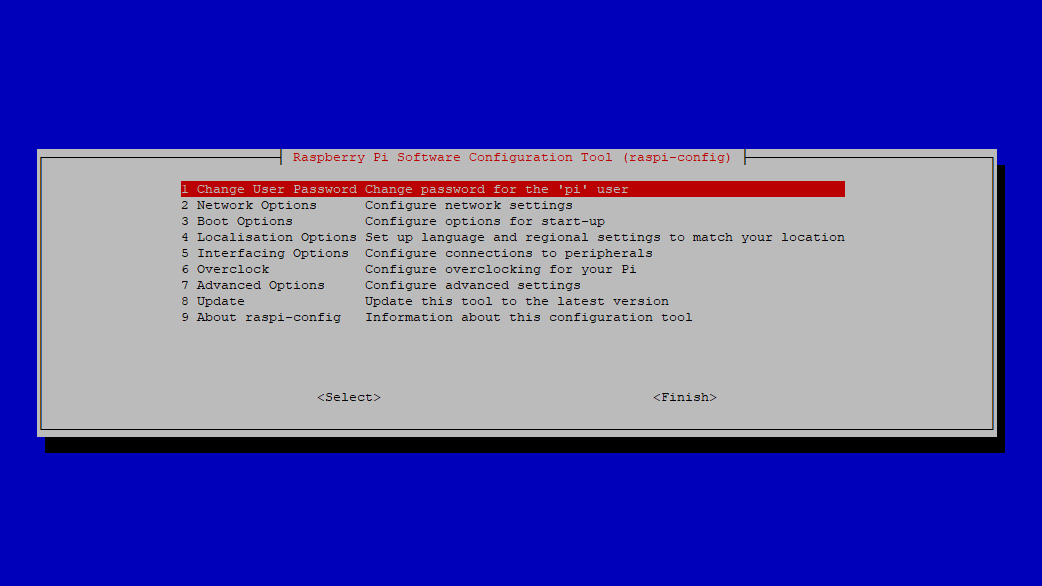
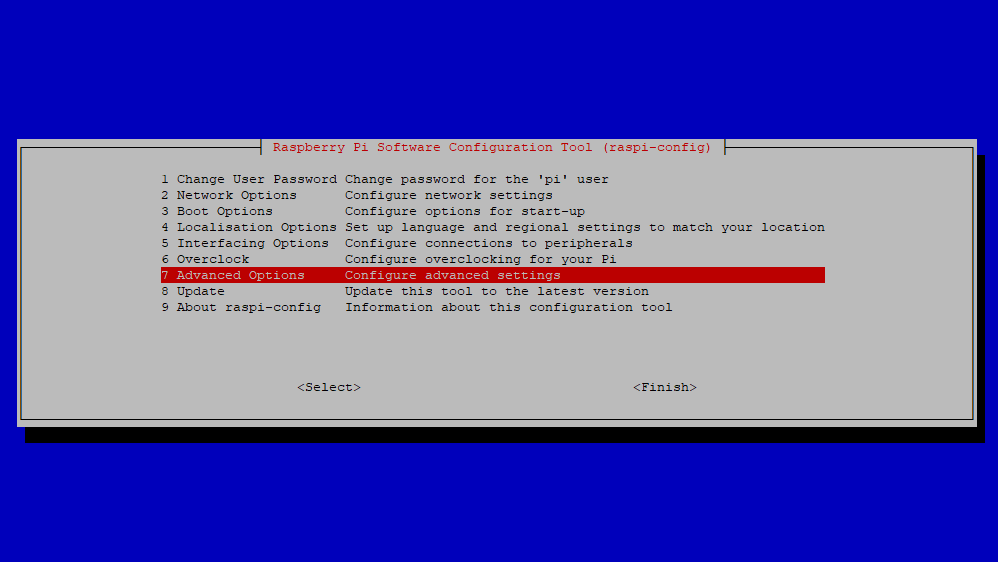
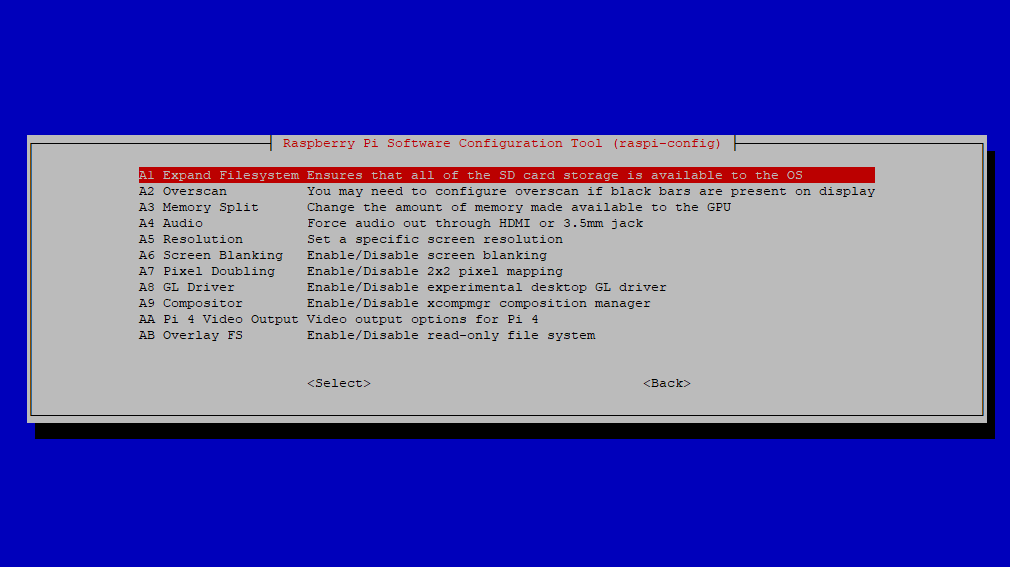
B. Expand Filesystem by selecting to 7) Advanced Options and moving to A1 Expand Filesystem
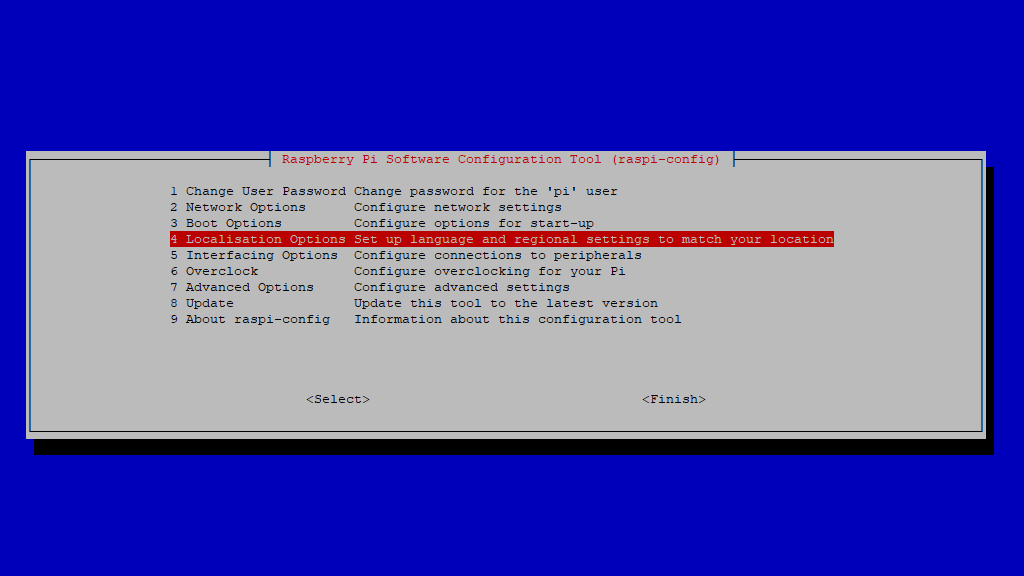
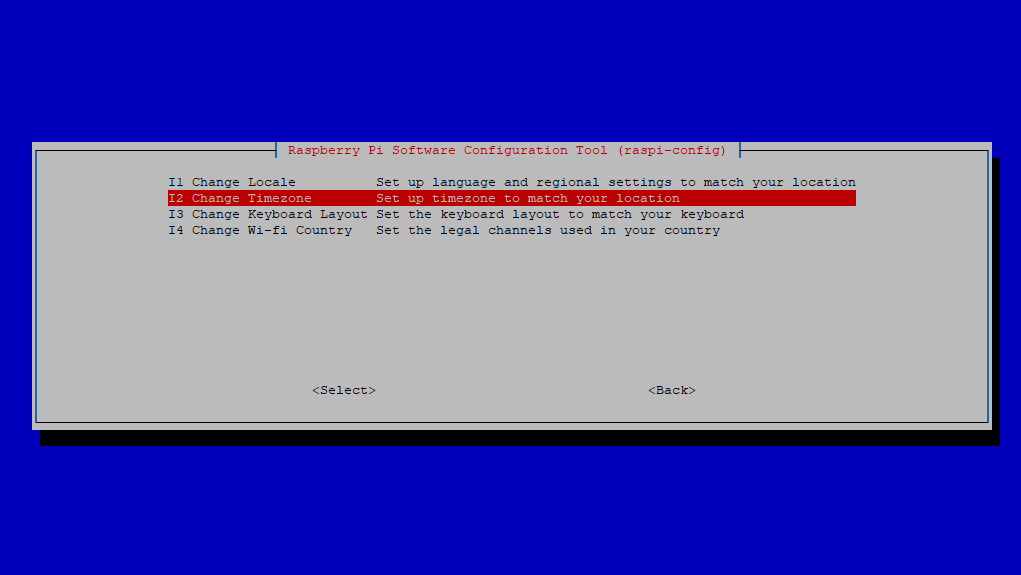
C. Update time zone by selecting 4) Localisation and moving to I2 Change Timezone
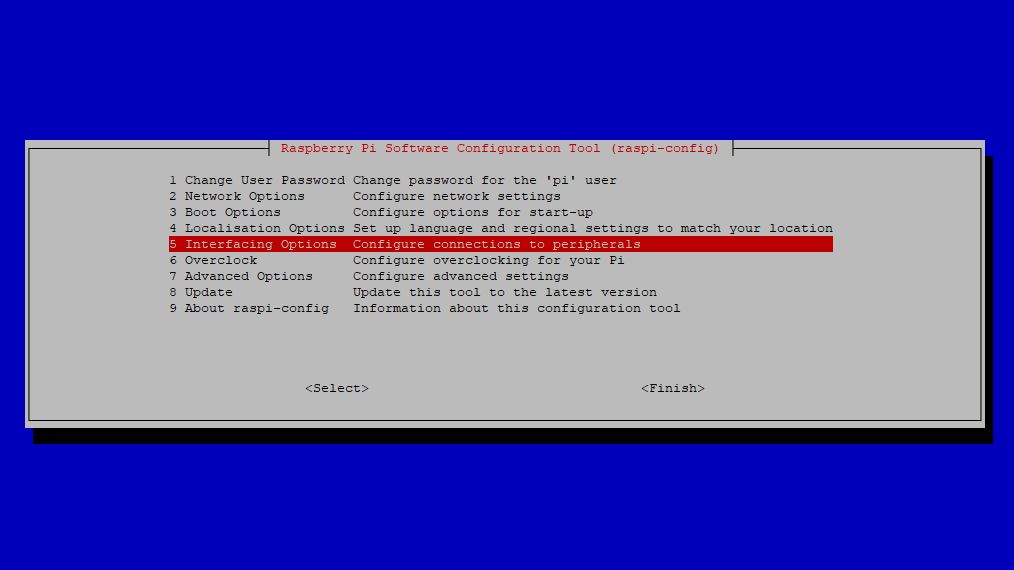
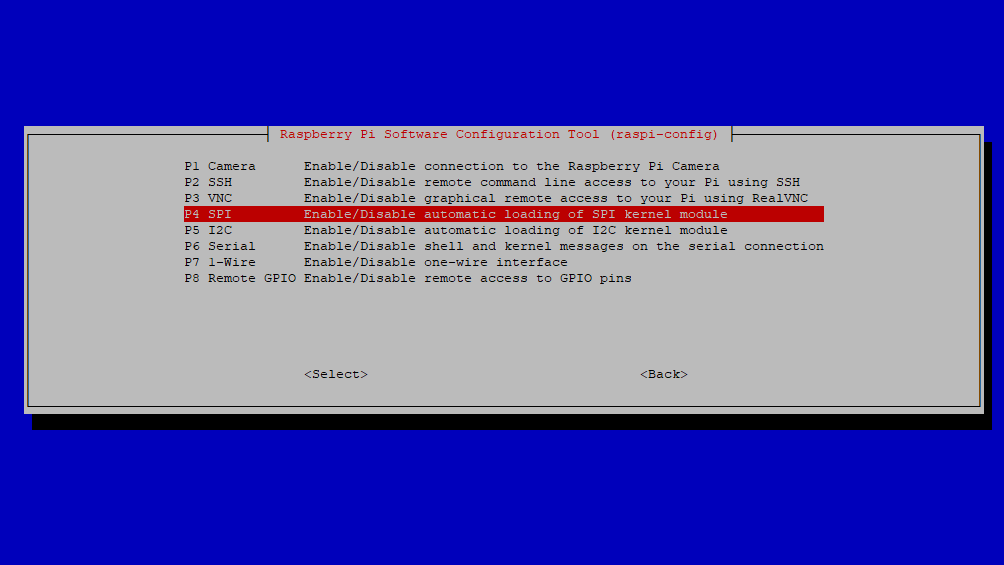
D. Enable SPI (Serial Peripheral Interface) by selecting 5) Interfacing options and moving to P4 SPI
E. Exit raspi-config by clicking/selecting <Finish>. This will normally reboot your raspberry. Othewise force rebooting:
pi@raspberrypi: ~$ sudo reboot
3rd step: Update and upgrade image
1) Boot your Raspberry device, connect with ssh and login as: pi and your new password
2) Update image
pi@raspberrypi: ~$ sudo apt update
3) Upgrade image
pi@raspberrypi: ~$ sudo apt full-upgrade
4) Reboot the device
pi@raspberrypi: ~$ sudo reboot
4th step: Install Node.js
1) Boot your Raspberry device and connect with ssh.
Raspberry W ZERO requires ARMv61 binaries. Start by cheking for the last available binaries node-x.x.x-linux-arm61.tar.gz on: https://nodejs.org/dist/
Note: If you have decided to use another Raspberry model, e.g. B+ (the last one), ARMv71 binaries are required. Install procedure is the same as follow.
2) Download the binaries, e.g. node-v10.19.0-linux-armv6l.tar.gz
pi@raspberrypi: ~$ curl -o node-v11.15.0-linux-armv61.tar.gz https://nodejs.org/dist/v11.15.0/node-v11.15.0-linux-armv6l.tar.gz
3) Extract binaries
pi@raspberrypi: ~$ tar -xzf node-v11.15.0-linux-armv61.tar.gz
4) Copy binaries to /usr/local/
pi@raspberrypi: ~$ sudo cp -r node-v11.15.0-linux-armv6l/* /usr/local/
5) test installation, for both node and npm
pi@raspberrypi: ~$ node -v
pi@raspberrypi: ~$ npm -v
Should both return version.
5th step: Install Subversion client
Subversion will help to download server and display packages.
pi@raspberrypi: ~$ sudo apt-get install subversion
6th step: Install required libraries
1) GPIO: pgpio is one of multiple available Node.js packages (we will install this one later) required to drive Raspberry GPIOs, and for our purpose to interface with the SPI wires.
This Node.js package requires some binaries:
pi@raspberrypi: ~$ sudo apt-get install build-essential libcairo2-dev libpango1.0-dev libjpeg-dev libgif-dev librsvg2-dev
3) PM2: this package is a deamon process manager for runtime Node.js applications. It will be set-up later, but has to be previoulsy installed globaly:
pi@raspberrypi: ~$ sudo npm install -g pm2
and enable PM2 to start at boot time:
pi@raspberrypi: ~$ sudo pm2 startup
7th (and optional) step: Install development environment
1) Install git in order to clone the projects:
2) Install typescrypt: